We all know how annoying it is to have unexpected turns on your smartphone when you're lying down reading an article and suddenly the screen changes from portrait to landscape orientation. I'm happy to tell you: there's an app on Android that will eliminate this inconvenience forever.
Rotation Manager by Meerkat — with it you will forget about annoying and untimely screen rotations, but the many options available in it can confuse inexperienced users. And since I like everything to be simple and clear, my guide today will help you figure out how to use this application. Let's go!
Installation
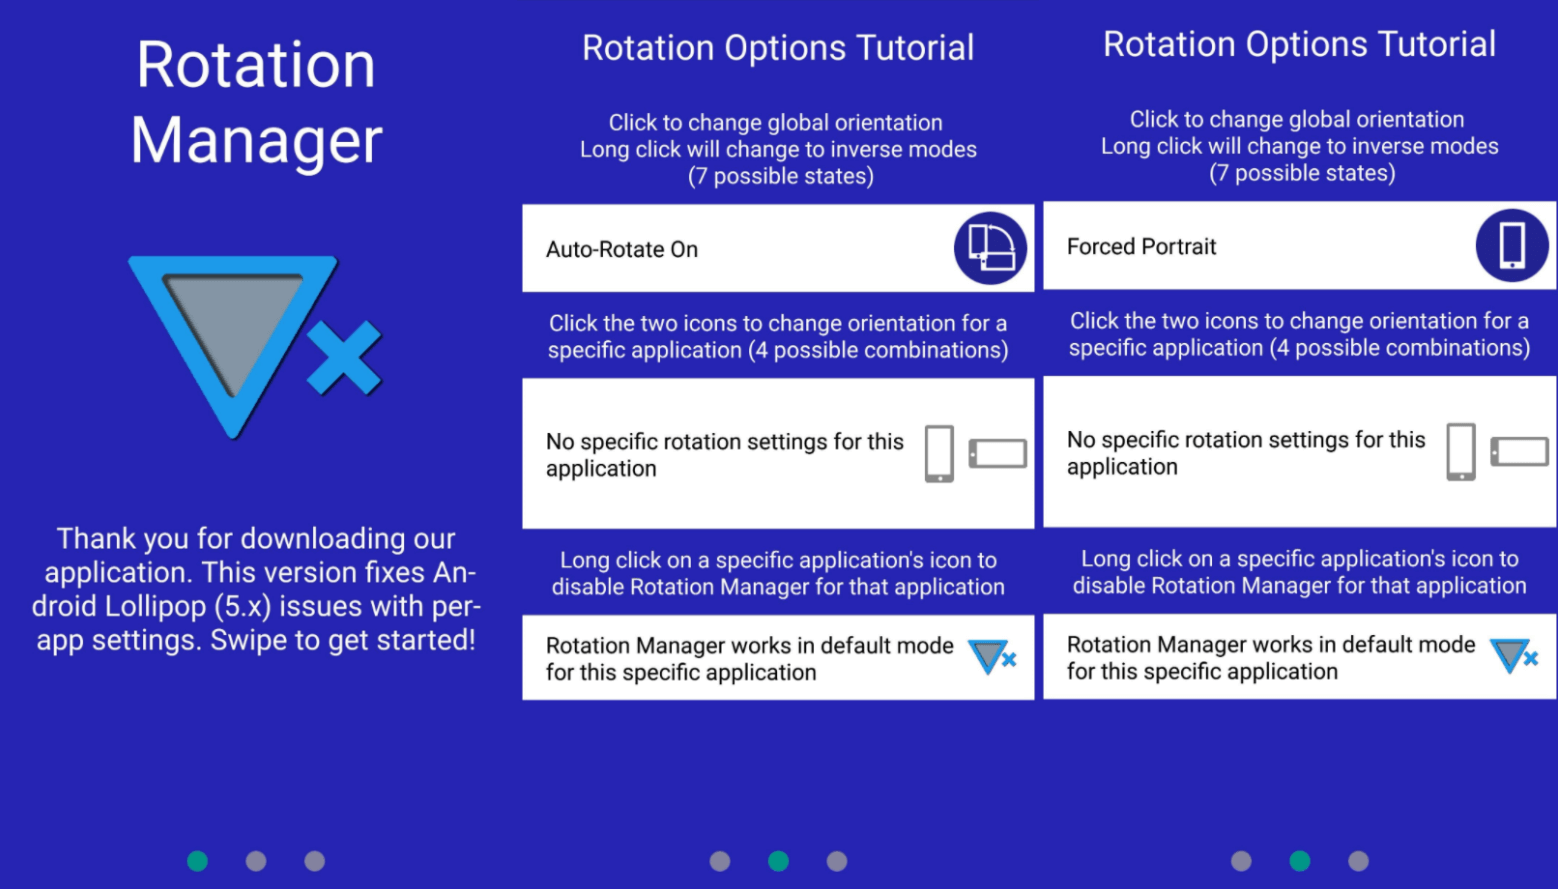
Download Rotation Manager from Google Play Store. When you first launch it, you'll be greeted by a tutorial and settings page. Swipe forward and tap the round icon with the text Auto-Rotate On until the text changes to Forced Portrait. This will make portrait orientation the default, and also allow you to customize screen rotation for other apps. At the top is a picture consisting of three screenshots. You can make it look like the last one.
We grant permission
On the last page, you'll have the option to disable Permanent Notification. If you leave it enabled, you'll see a reminder every time you swipe down from the top, but the app won't be killed by Android's power-saving system while running in the background. It's up to you, but I didn't encounter any issues after disabling it.
Next, activate Rotation Manager by clicking on the round power icon. You will be redirected to the Data Access settings page: scroll down, find and click Rotation Manager and activate Allow usage tracking. Finally, go back to the app and click the check mark at the bottom of the page to save the settings.
Customization
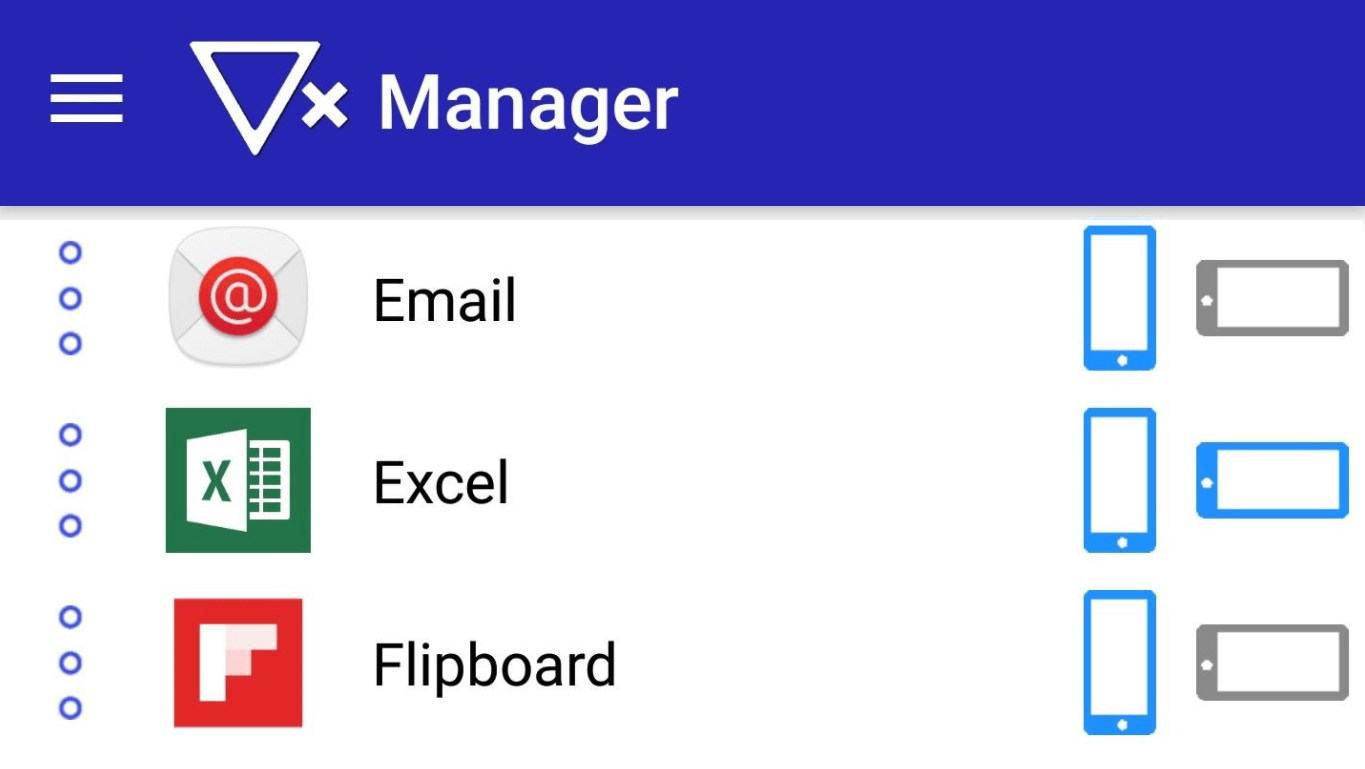
Now let's work with the orientation for individual apps. On the main page of Rotation Manager, select the desired orientation by clicking on the vertical (or horizontal) icons on the side of the desired app, thereby assigning it to portrait or landscape mode. By selecting both icons, you activate auto-rotation.
Now everything is set up and ready to go. You no longer have to worry about the screen rotating at the most inopportune moment - instead, each application will be assigned the orientation you selected in Rotation Manager.
As mentioned, there are many other customization options that can be explored in detail in the app itself by going to the Instructions menu.


